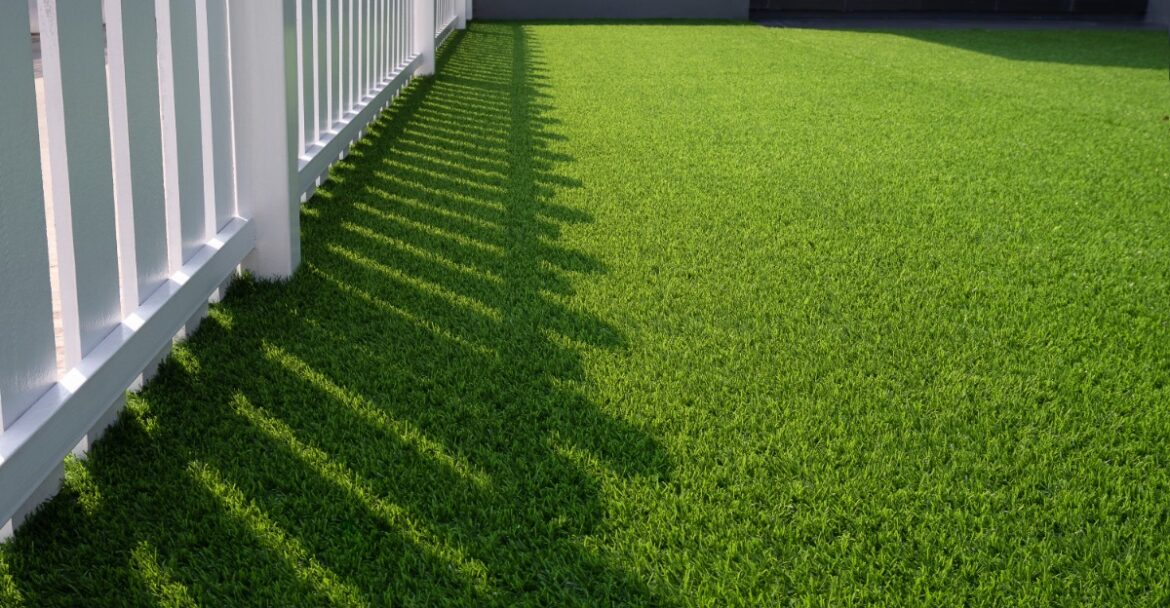
Artificial grass is made to look as realistic as possible. Most people can’t tell the difference between quality turf and living grass once the turf is matched to the space and installed with care. That said, purchasing and installation mistakes can make synthetic grass more obvious. If you want to have the most natural-looking artificial grass, here are tips for picking out the right turf and installing it in a way that blends with the property
Match the Blade Color to Real Grass in Your Region
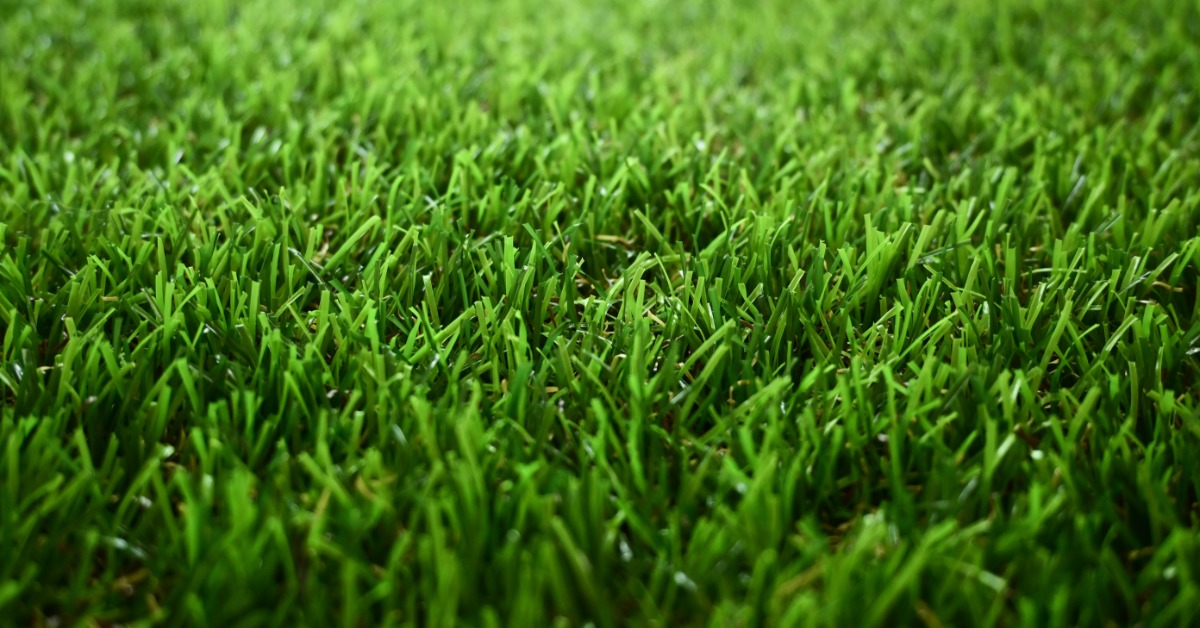
Not all grass is the same shade of green. Lawns in San Diego look different from lawns in Georgia, and the artificial product you choose should reflect that. Warm-climate grass tends to run lighter, with golden or tan undertones mixed into the green. Cooler-climate grass pulls darker.
When you’re shopping, look at the blade color under natural light, not store lighting. Indoor lighting flattens everything and makes shades harder to read. If the product looks slightly off indoors, it’ll look more off outside.
Pay Attention to Blade Shape, Not Just Color
Blade shape is one of the details that separates a natural-looking lawn from one that reads as plastic. Real grass blades have variation. Some are narrow. Some are wider and flatter. Artificial products that use only one blade shape throughout the product can look too uniform.
Look for products that mix blade widths or include a thatch layer at the base. That thatch mimics the dead grass and organic material that builds up naturally at soil level. Without it, the grass surface looks too clean and too even.
Choose a Pile Height That Fits the Space
Pile height is how tall the blades stand when the turf is laid flat. The wrong height for your space will look off even if everything else is right.
For lawns, a mid-range pile height is closer to what a well-maintained real lawn looks like. Very short pile reads more like a putting green. Very tall pile can look overgrown or floppy if the product doesn’t have enough spine to hold the blades upright. Think about what kind of grass would actually grow in that space, and work from there.
Use the Right Product
Customers should select turf from the actual turf roll or from a completed job whenever possible. A 9″ x 9″ sample shows the side profile of the turf, including the colored thatch that adds realism to the sample. Once the turf is installed, you see the top of the blades instead. That difference can make the installed turf look shorter, flatter, and less realistic than the sample suggested.
All turf also softens 20% to 50% in the sun. When weather allows, JUS Turf can take the turf outside at the warehouse so customers can see the color, blade texture, and finished appearance before choosing.
Get the Base Prep Right Before You Lay Anything
What’s underneath the turf matters as much as what’s on top. If the base isn’t level, the surface will show dips and ridges once the grass is down. Those inconsistencies are hard to fix after installation, and they make even a quality product look cheap.
Compact the base material fully before laying the turf. Use a plate compactor rather than relying on foot traffic to settle things over time. A firm, flat base gives the grass something stable to sit against, and that’s what keeps the surface looking smooth from every angle.
Use Seam Tape and Adhesive So Seams Disappear
Seams are one of the most common places where artificial turf gives itself away. When two pieces of turf meet and the seam is visible, the product stops looking like a lawn and starts looking like carpet.
Run seams in the same direction as the blade lean. When both pieces face the same direction, the blades blend together instead of pushing against each other. Cut edges as straight as possible before joining them.
Don’t rely on nails alone or peel-and-stick tape for seams. Turf expands and contracts in the sun, and foot traffic puts extra stress on the joined edges. Nails can lead to seam peaking and loose edges, while peel-and-stick tape can fail as the turf moves. Use the correct seam tape and a high-quality urethane adhesive so the seam stays flat, secure, and hidden.
Brush the Blades in the Right Direction
Real grass grows in different directions depending on the terrain and how it’s maintained. Artificial grass has a blade lean built into the manufacturing, and it looks best when that lean is oriented toward the main viewing angle of the space.
After installation, brush the blades against their natural lean with a stiff-bristled broom. That lifts them upright and gives the surface more of a full, standing appearance. A lawn where the blades are flattened in one direction looks matted, and matted turf looks old even when it isn’t.
Add Infill to Keep the Blades Standing
Infill is the material that goes between the blades at the base of the turf. It’s not always included in a basic installation, but skipping it shows. Without infill, the blades flatten under foot traffic and don’t recover the way real grass does.
Sand infill is a common option for residential lawns because it adds weight at the base, keeps the blades in position, and gives the turf a more grounded texture underfoot. Tcool Cooling Sand offers these benefits while lowering surface heat for lawns that get direct sun. For pet areas, BRZ Pet Odor Infill is made to reduce odors where pets use the turf.
Create Some Visual Variation Around the Edges
A lawn with a perfectly sharp perimeter and nothing else around it can look staged. Real outdoor spaces have variation at the borders, whether that’s plants, mulch, stone, or a gradual transition between surfaces.
When you’re finishing the edges of your artificial turf, think about what’s sitting next to it. A hard edge against bare soil looks incomplete. A border of gravel, pavers, or planted beds gives the eye something to transition through, and that transition makes the turf surface look like it belongs rather than like it was dropped in.
Keep Up with Basic Maintenance
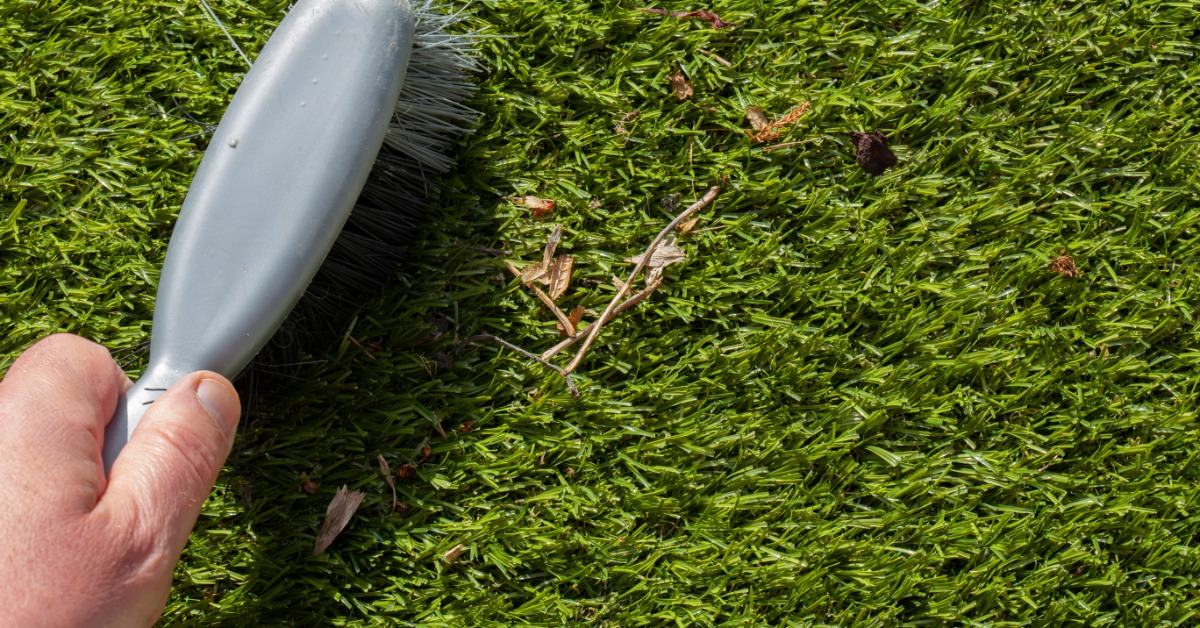
Artificial grass doesn’t need mowing, but it does need attention. Debris builds up between the blades over time, and once organic material starts breaking down in the turf, the surface discolors. That discoloration is one of the quickest ways for a lawn to lose its realistic look.
Rinse the surface periodically to move debris out and keep the blades clean. Pet owners should also use an enzyme cleaner from time to time to break down urine residue and reduce odors at the source. A clean lawn looks like a healthy lawn, and a healthy-looking lawn is the whole goal.
A Natural Finish Starts Before Installation
If you want to make artificial grass look more natural, focus on purchasing artificial grass that matches the surrounding landscape closely, and taking care with the installation to avoid visible seams and raised edges.
At JUS Turf, we sell high-quality, US-made artificial grass for playgrounds and other areas that need durable turf with a realistic look. If you’re looking for the right artificial grass for your property, request a quote on our website today. We have in-stock options available for immediate pick-up once you’ve selected your turf. Or, you can visit us at our warehouses located in San Diego, CA or Dalton, GA to see samples of turf in-person before choosing. Our team can provide expert guidance on what turf styles look best for your space, as well as DIY install training to help you install with more confidence.