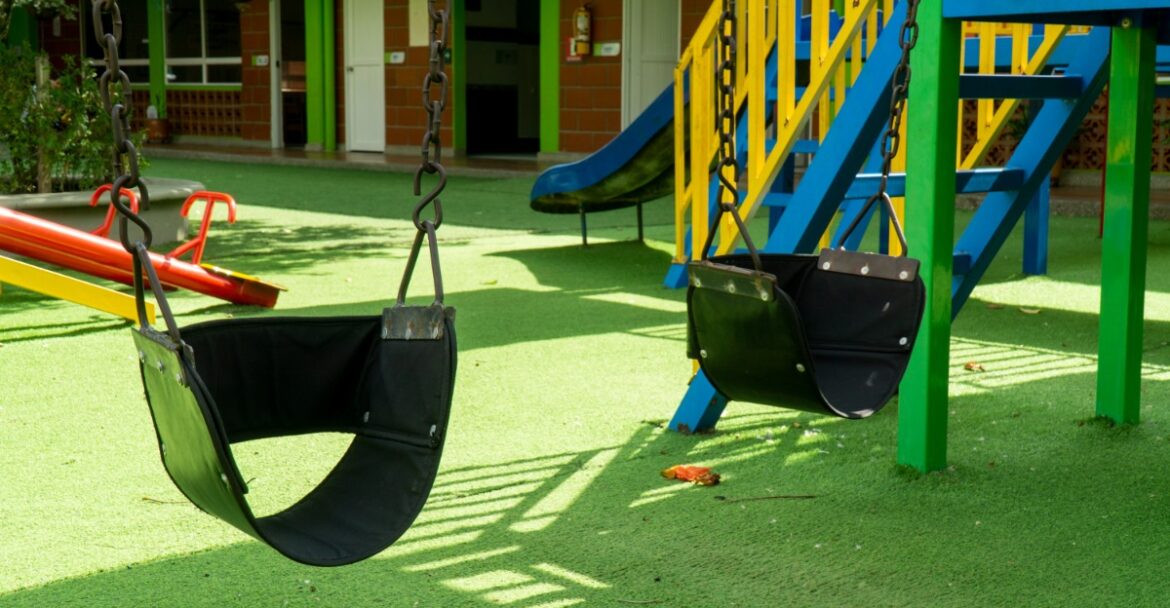
Before you purchase artificial grass for a playground, you should have an idea of how the turf gets installed. If you plan on hiring a professional installer, that knowledge gives you a better way to judge whether the work is being done correctly. If you’re DIYing, you’ll know what the project involves before you start cutting turf or moving dirt. This playground turf installation guide walks you through the full installation, including what goes underneath the turf and what happens after the rolls hit the ground.
Check Playground Safety Standards Before You Buy
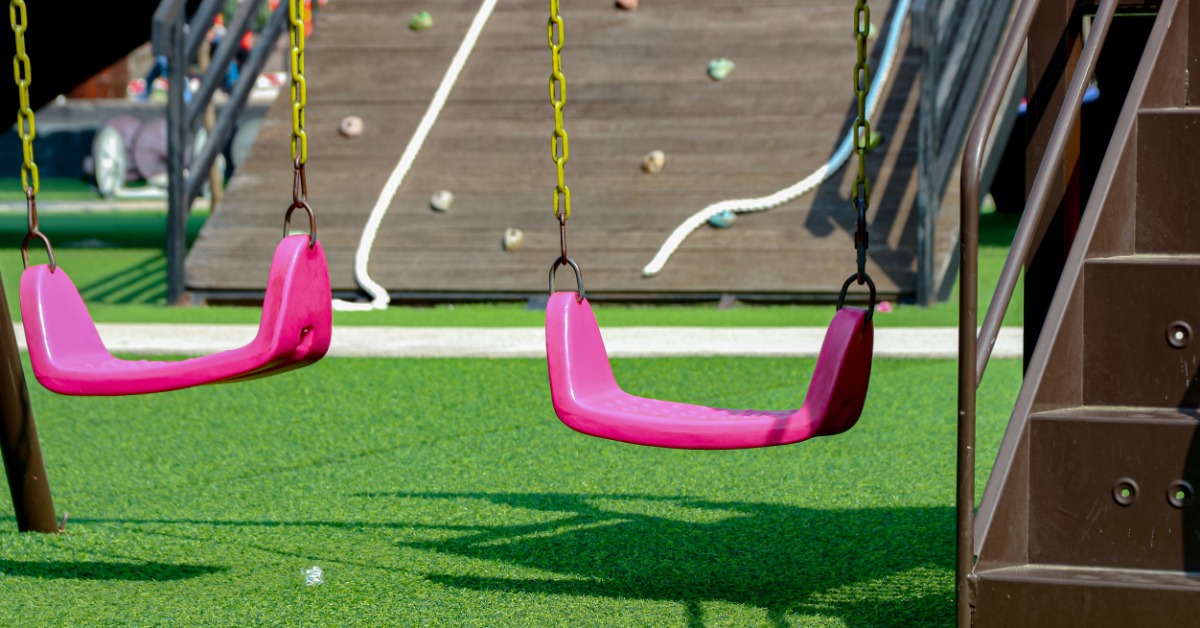
Playground surfacing falls under ASTM F1292, the standard that measures how a surface absorbs impact from a fall. Public playgrounds also follow guidelines from the U.S. Consumer Product Safety Commission, which sets a maximum fall height based on the equipment installed.
Before ordering turf, check the fall height of the tallest piece of equipment on the site, since that number determines how thick your shock pad needs to be. A public playground, such as one at a school or park, generally needs documentation proving the finished surface meets these ratings, so ask your supplier for a certified test report before installation begins.
Measure The Playground Area Precisely
Turf is sold by the roll, and rolls typically run 12 or 15 feet wide, so an accurate measurement keeps you from ordering too much or too little material. Measure the full length and width of the play area, then add extra footage along each edge for trimming and seaming. If the playground includes curves around equipment or borders, sketch the shape and note each dimension separately instead of estimating one total square footage number.
Remove The Existing Ground Surface
Before any base material goes down, the old surface needs to come out completely. That means digging out grass and roots, pulling up mulch, or breaking apart old rubber matting down to bare soil. Any organic material left underneath will decompose over time, which creates uneven low spots under the turf as it breaks down.
For an existing playground with a poured rubber surface, expect this step to take longer, since the material has to be jackhammered or cut into removable sections. Most residential playground removals run 2 to 4 inches deep; commercial sites with heavier surfacing may require deeper excavation.
Grade The Sub-Base for Drainage
Water needs somewhere to go once it hits the turf, so the excavated area gets graded with a slight slope, close to 1 to 2 percent, moving away from play structures and toward a drainage point. Poor grading is one of the most common causes of standing water on playground turf, since flat or bowl-shaped sub-bases trap moisture instead of letting it run off. A laser level or string line lets installers check the slope across the entire area before adding any base material. Skipping this step is the single biggest reason playground turf ends up smelling musty or growing mold underneath.
Compact a Class II Base Layer
Most playground turf installations use a compacted layer of Class II road base, a crushed rock and decomposed granite mix that locks together under pressure and drains well. The base goes down in two lifts of about 2 inches each, with a plate compactor running over every pass to remove air pockets. An under-compacted base settles unevenly after installation, which shows up later as dips and wrinkles in the turf surface. Total base depth for playgrounds generally runs 3 to 4 inches, deeper than a standard residential lawn installation, to support the added weight of a shock pad on top.
Add a Shock-Absorbing Pad
Playground turf needs a layer built specifically to reduce fall impact, since regular turf padding used for lawns or pet areas doesn’t meet playground safety ratings. Shock pads come in foam, rubber, or bonded rubber-foam combinations, and the thickness required depends directly on the fall height calculated earlier.
A 6-foot fall height calls for roughly a 2-inch pad, while a taller structure requires 3 inches or more, so this number comes from the equipment on site rather than a standard default. The pad gets glued or mechanically fastened to the base layer so it doesn’t shift once the turf goes on top.
Roll Out and Seam the Turf Panels
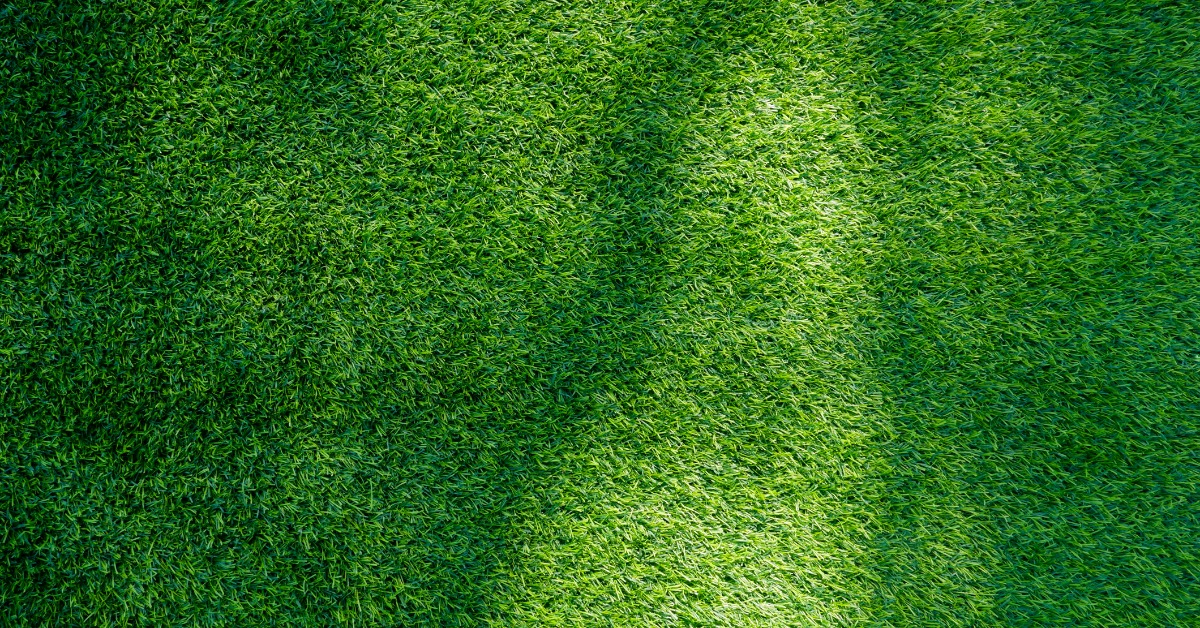
Turf rolls get positioned so the grain, the direction the fibers lean, runs the same way across every panel, which keeps the color and shading consistent once installed. Where two panels meet, installers overlap the edges, trim them with a seaming knife, and glue them together using outdoor-rated seaming tape and adhesive.
A properly seamed edge should be nearly invisible from a standing position, with no visible ridge or separation between panels. Nails or staples along the perimeter hold the turf in place temporarily while the seams cure, a process that takes several hours depending on temperature and humidity.
Anchor The Perimeter With Nails or Staples
The outer edge of the turf carries more stress than the middle, since it’s exposed to foot traffic, weather, and the pull of the material as it settles. Installers drive galvanized nails or staples every 6 to 12 inches along the perimeter, angling them slightly so they hold the material down without puncturing straight through the backing.
Steel or plastic edging can also be installed underneath the perimeter where the playground borders a walkway or hardscape, which keeps the turf from lifting at the transition point. Loose or missing anchors along the edge are one of the most common causes of tripping hazards on installed playground turf.
Choose The Right Infill for a Playground
Infill is the granular material brushed into the turf fibers to keep them upright and add cushioning underfoot. Crumb rubber infill, made from recycled tires, has become less common on playgrounds specifically because of concerns raised by parents and school districts about the materials it contains.
TPE, or thermoplastic elastomer, has become the preferred infill for playgrounds because it’s manufactured without recycled tire content and comes in colors that blend naturally with the turf. Silica sand works for lower-traffic areas, though it doesn’t provide the same cushioning that TPE does under active playground equipment.
Brush And Groom the Finished Surface
Once infill is down, the turf gets brushed against the grain with a power broom or stiff-bristle rake, which lifts the fibers and spreads infill evenly through the base of the turf. This step also removes any leftover crumbs of base material or adhesive that surface during installation. A final walkthrough should check each seam for separation and confirm nails sit at a consistent depth along the perimeter. Transitions into any surrounding hardscape need to sit flush, without a raised lip where foot traffic or wheels could catch.
Know What Goes Into a Finished Playground
This playground turf installation guide covers the basics of what you need to know about the full installation, from removing the existing surface through the final inspection. With that knowledge, you can follow the work more confidently when you hire an installer or understand what you’re taking on before starting a DIY project.
At JUS Turf, we sell high-quality playground artificial turf from our San Diego warehouse, with options for residential play spaces and commercial projects. JUS Turf has served homeowners, business owners, and contractors since 1984. Grab your measurements and stop by; the team can help you find the right turf for your playground.